Discord is the current leader of the pack when it comes to voice chat and community servers for streamers. It offers a convenient way to organize your community and friends into channels and voice chat rooms for gaming or hanging, and generally makes interacting with fans extremely easy. While it is powerful and versatile, you’ll first need to set up your Discord server and then figure out how best to utilize it for your streaming needs. Here are some tips.
How to set up a Discord server
This is the straightforward bit, because all you really need to do is download the Discord app (visit the website here) or open it through a web browser. Once you have an account, you can join a server or create your own. If you already have Discord then just hit the big + button in a circle in the bottom left and you’ll be guided through making your own, including what to call it and the region in which to host the VOIP servers.
© Discord
Organize your server
Once you’ve made a new server for your community, you’ll need to invite them, but first start by inviting some friends or people you trust to maintain order. Discords can become unruly without organization or moderation, so make sure to create Roles for your mods or admins. You can do this by opening the settings and heading to the Roles section. Create roles (with whatever names you want) and then give them certain permissions, like the ability to remove people from the server or create new rooms. You don’t want everyone doing this or it quickly becomes chaos. Once you have suitable roles defined and assigned, right click on anyone in the server and head to the Roles dropdown bit of the menu to choose which one to appoint them.
You’ll also want to make some text and voice channels for your community to hang out in. You can make text channels for various interests related to gaming or other topics so people know where to go to talk about their hobbies with others. Make them for individual games so people can find new friends to play with, too.
Subs only
If you’re making this Discord for your existing community to join, then you might want to gate access to it behind the subscriber paywall on Twitch, for instance. To do that there are “Integrations” in Discord that let you link accounts and will check for someone’s subscriber status before letting them enter your Discord server. To find out more about how to do this, check out the Twitch integration FAQ on Discord’s help page.
Go live
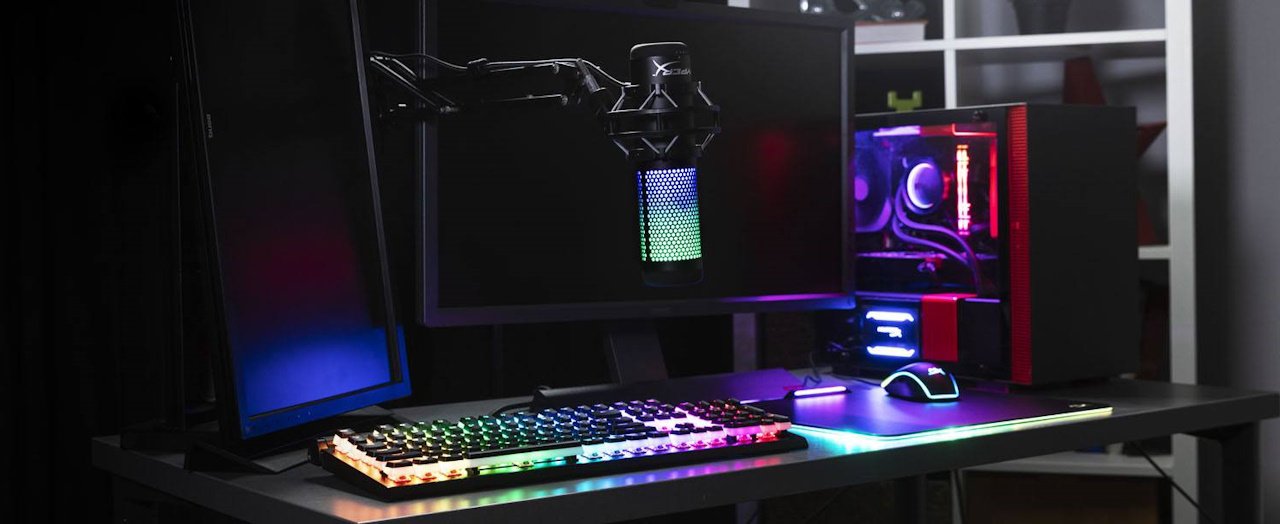
© HyperX
You can even use Discord itself to stream, if you want to give your community an exclusive place to interact with you. Go Live is Discord’s newest streaming feature and it allows you to stream in a voice channel for up to 10 other viewers in the server, so you could make a separate invite-only channel for higher paying subscribers, for example. Once you have everyone in the channel, launch your game, and in Discord you’ll see a small Display Capture symbol next to the game’s name in your Now Playing status. Hitting that will let you choose the channel to stream to and talk along with your community. Of course you’ll need all the requisite gear: a decent streaming microphone like the HyperX QuadCast S, or a headset like the HyperX Cloud III will let you talk with your viewers as if they’re right with you on the couch.
There are plenty of more advanced ways to organize your Discord server for streaming, but these should help you get started. Dig into those settings and figure out fun ways to engage with your community and they’ll appreciate your efforts!